Trezor.io/start: The Ultimate Guide to Getting Started with Trezor Wallet
In today’s rapidly evolving digital economy, safeguarding your cryptocurrency is more crucial than ever. Trezor.io/start is the official onboarding platform for users looking to set up their Trezor hardware wallet, a trusted device that offers unmatched protection for your crypto assets. Whether you are a beginner or a seasoned trader, this guide will help you understand how to navigate the platform securely and efficiently.
What is Trezor.io/start?
Trezor.io/start is the official setup portal for the Trezor hardware wallet developed by SatoshiLabs. It provides a step-by-step installation process, software downloads, and essential security guidelines. By visiting this portal, users can initialize their device, install the Trezor Suite (the companion app), and learn how to store, send, and receive digital currencies securely.
Why Choose Trezor?
Security is the cornerstone of Trezor’s philosophy. The wallet operates offline, making it immune to online hacks, phishing attacks, or malware. Your private keys never leave the device, ensuring your funds remain safe even when connected to compromised computers.
Additionally, Trezor supports over 1,000 cryptocurrencies, including Bitcoin (BTC), Ethereum (ETH), Litecoin (LTC), and ERC-20 tokens. The wallet’s open-source nature also allows for transparency and community verification, further solidifying its credibility.
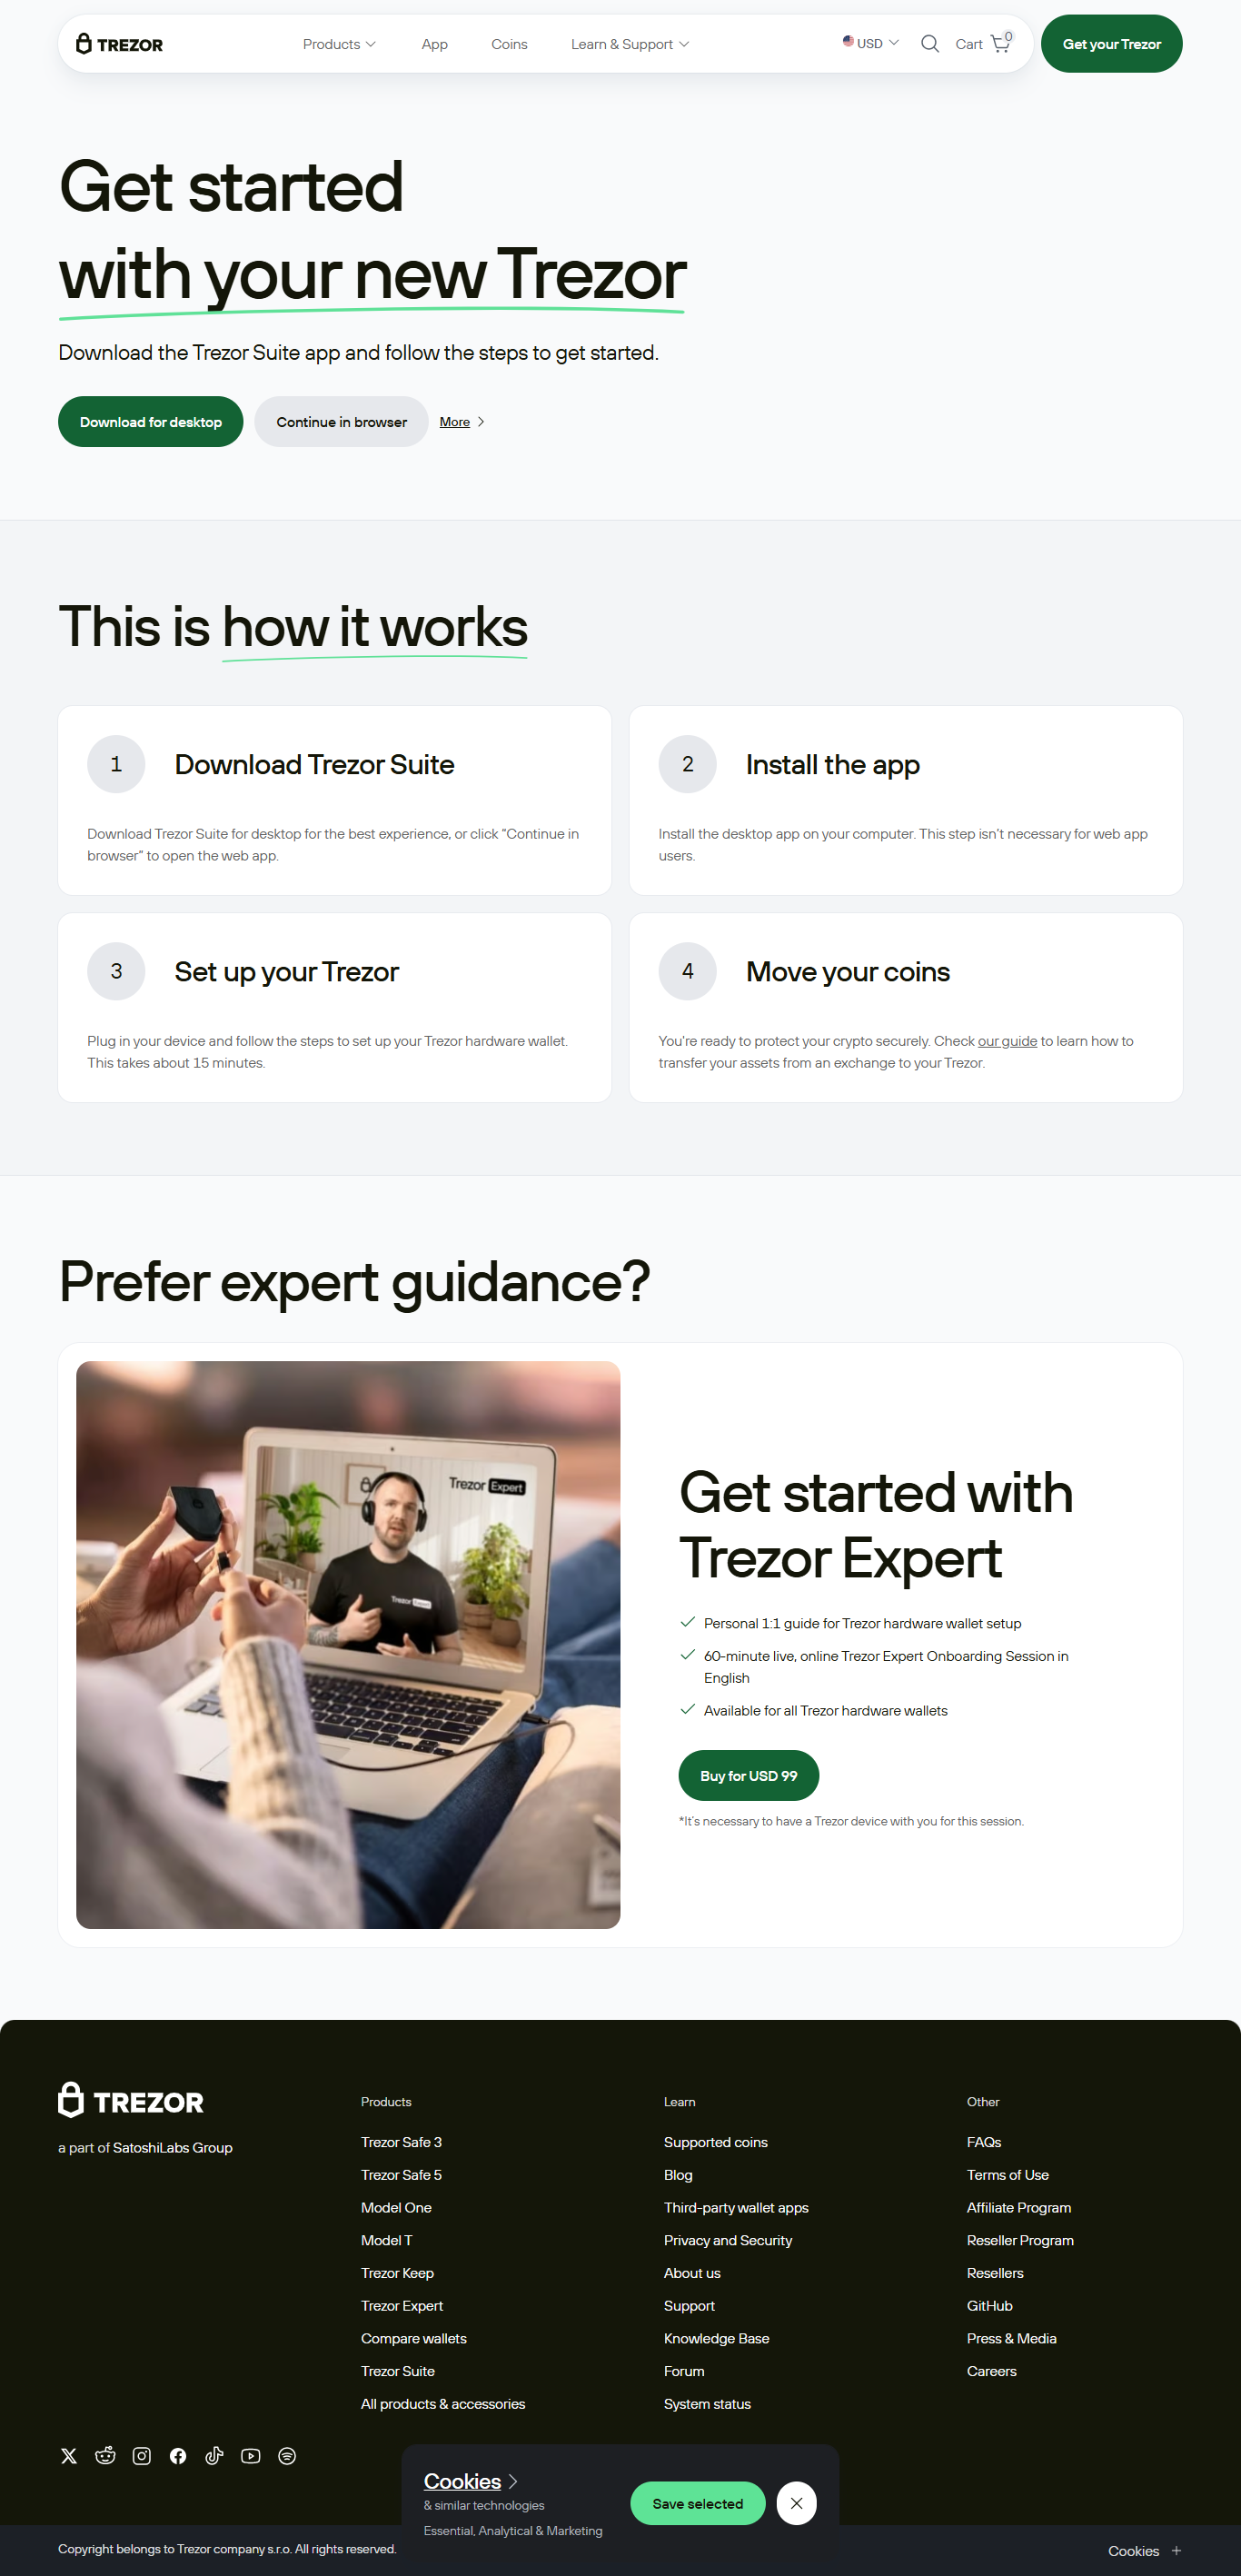
How to Get Started at Trezor.io/start
Step 1: Connect Your Trezor Device
Plug your Trezor Model One or Model T into your computer using a USB cable. Visit https://trezor.io/start and select your device to begin the initialization process.
Step 2: Install Trezor Suite
You will be prompted to download and install Trezor Suite, the official desktop application that enables you to manage your crypto assets. It is compatible with Windows, macOS, and Linux.
Step 3: Firmware Installation
If your device is brand new, you’ll need to install the latest firmware. This ensures that you are using the most secure and updated version of the software.
Step 4: Create a Wallet & Backup Your Recovery Seed
Once the firmware is installed, create a new wallet. Trezor will generate a 12 to 24-word recovery seed—write it down and store it in a safe, offline location. This seed is the only way to recover your assets if the device is lost or damaged.
Step 5: Secure & Customize
After creating your wallet, you can set up a PIN, name your device, and customize security settings. You are now ready to send, receive, and manage your digital assets.
Benefits of Using Trezor.io/start
✅ Top-notch Security: Offline storage and PIN protection ✅ Ease of Use: Simple user interface and guided instructions ✅ Multi-Currency Support: Wide range of supported cryptocurrencies ✅ Transparency: Open-source code verified by the global community ✅ Regular Updates: Continuous firmware and software improvements
Final Thoughts
Trezor.io/start is more than just a setup page—it’s your first step into secure cryptocurrency management. With intuitive instructions, unparalleled security protocols, and a commitment to transparency, Trezor empowers users to take full control of their digital wealth. Whether you’re investing in Bitcoin or exploring the DeFi world, starting with Trezor.io/start ensures that your journey begins safely and confidently. 🔐💰
Made in Typedream